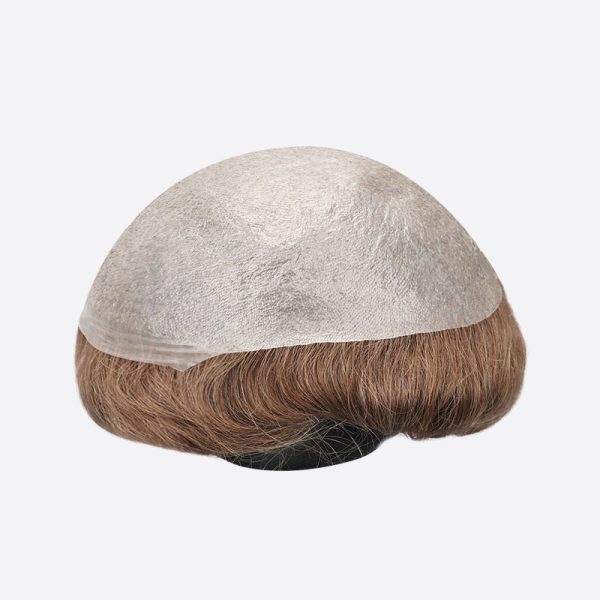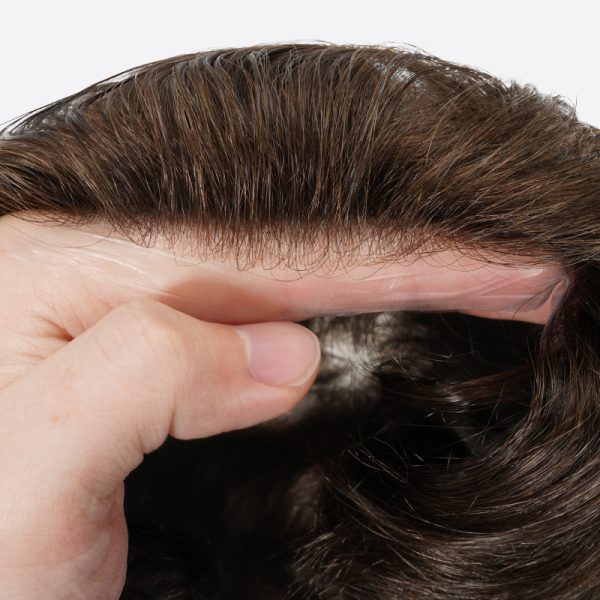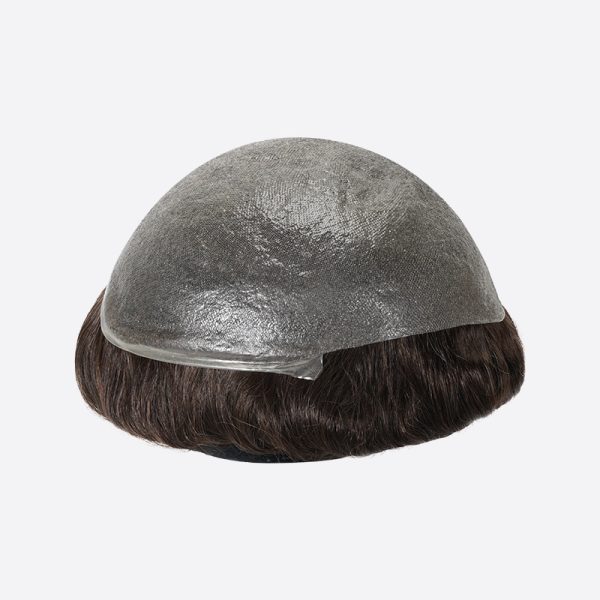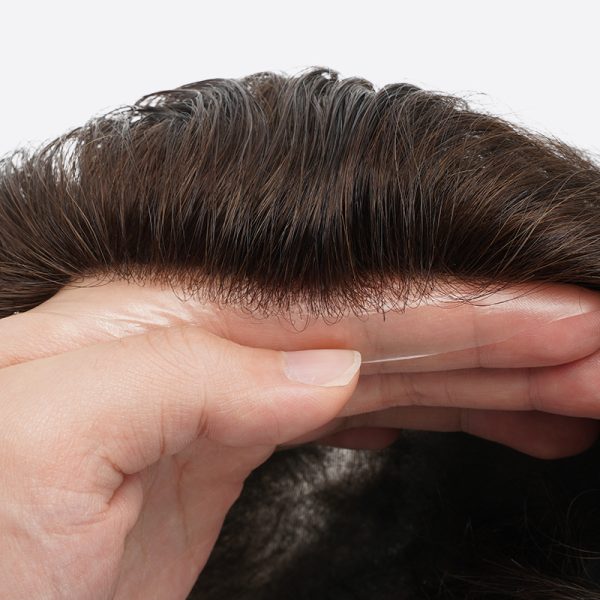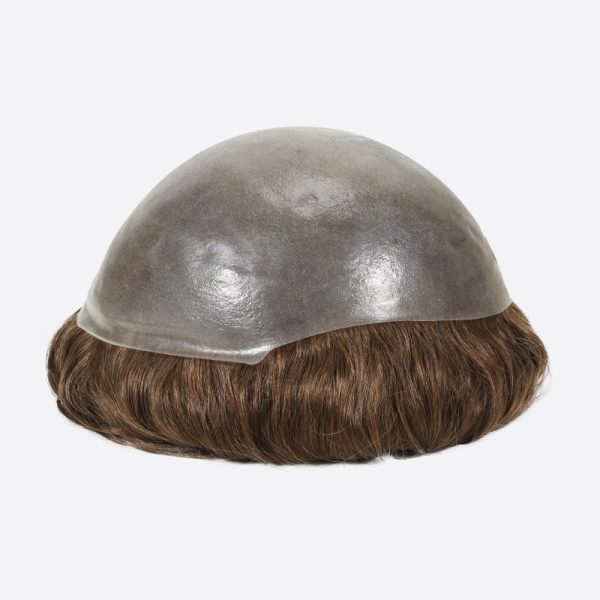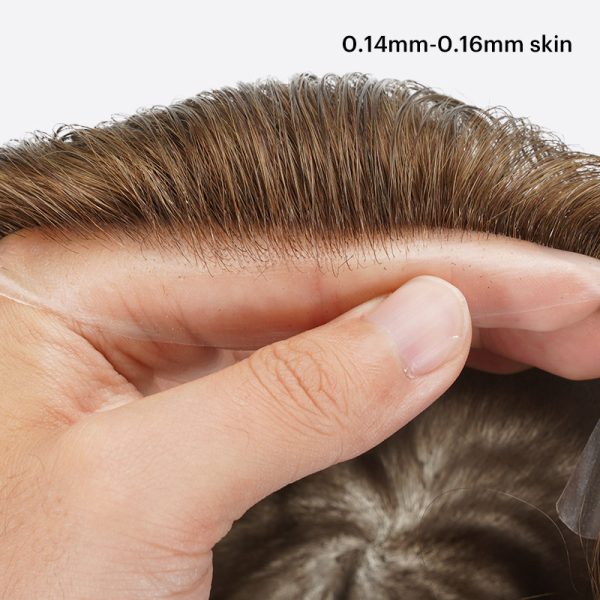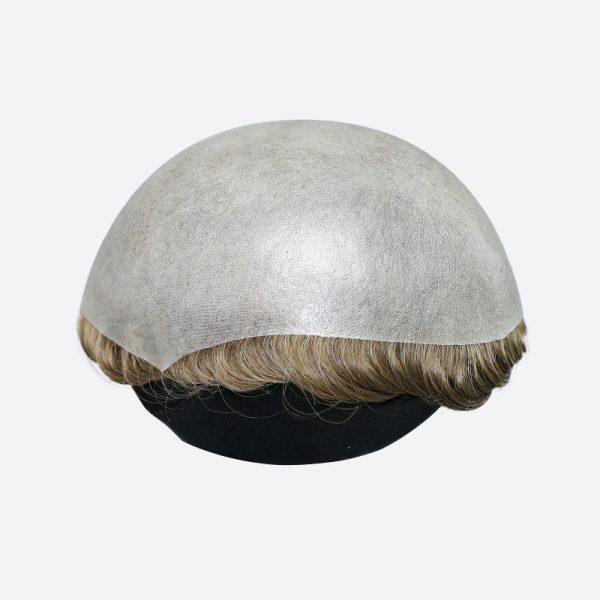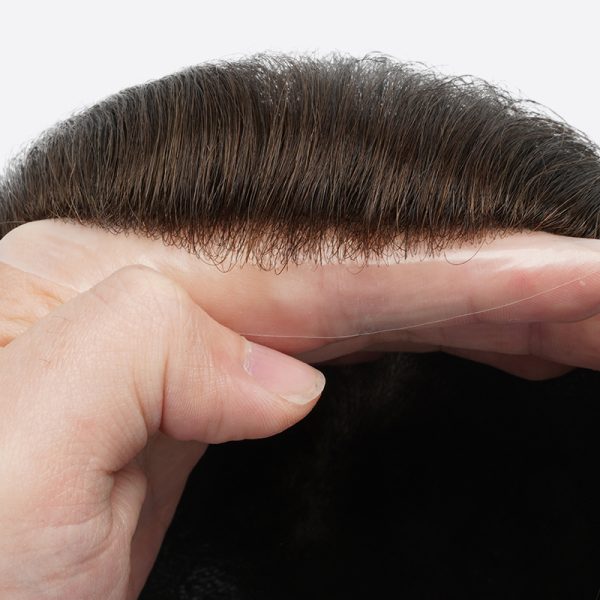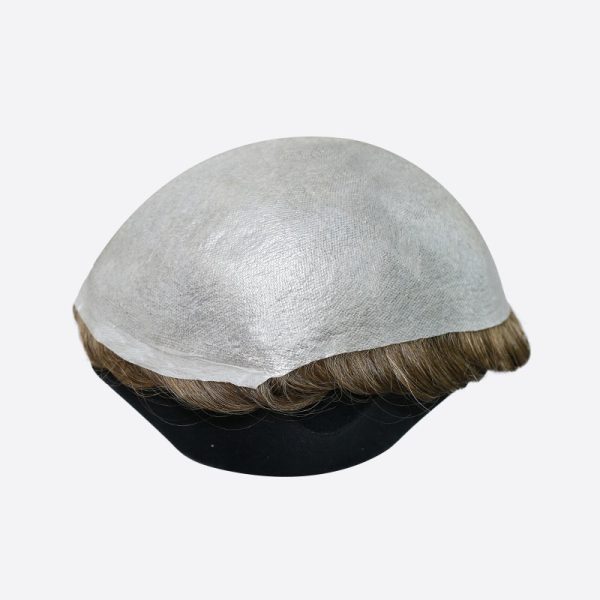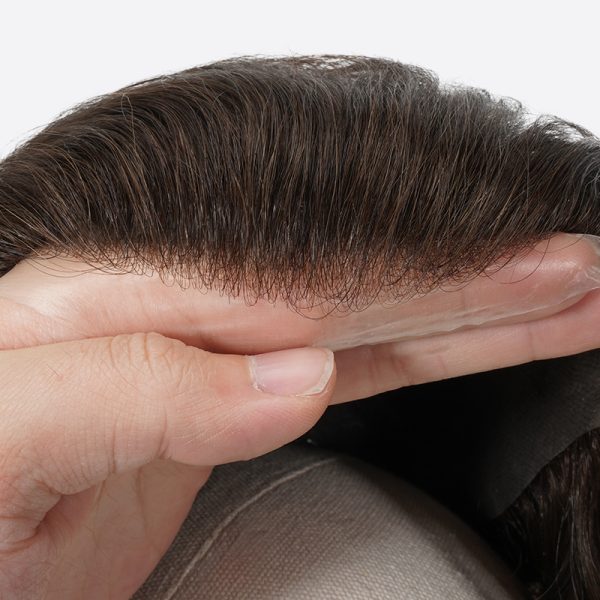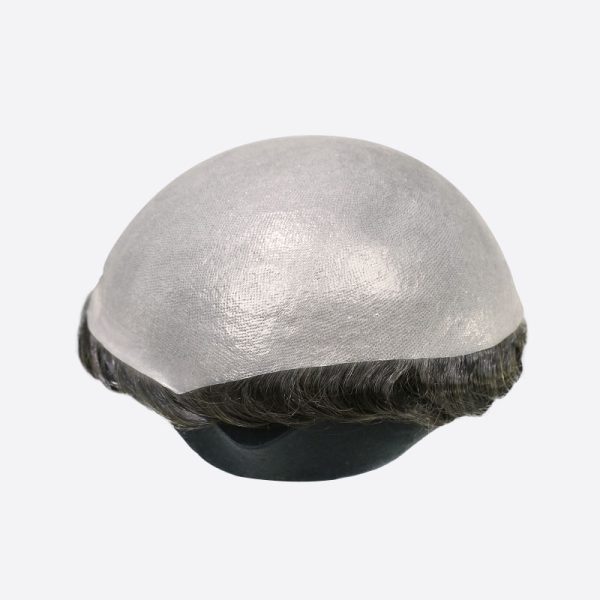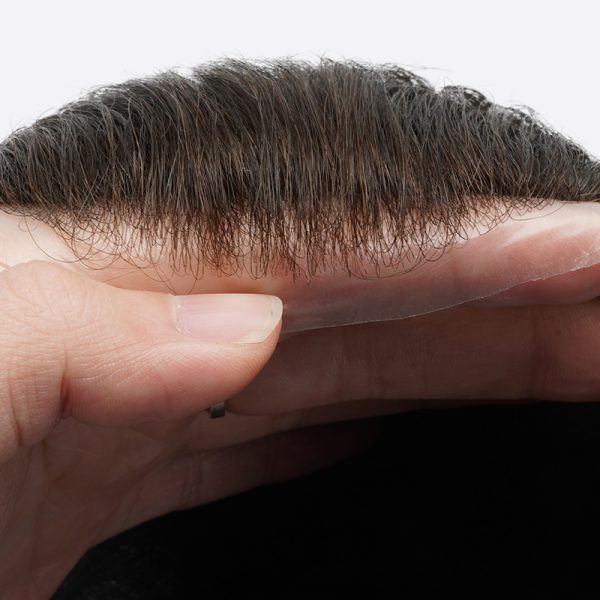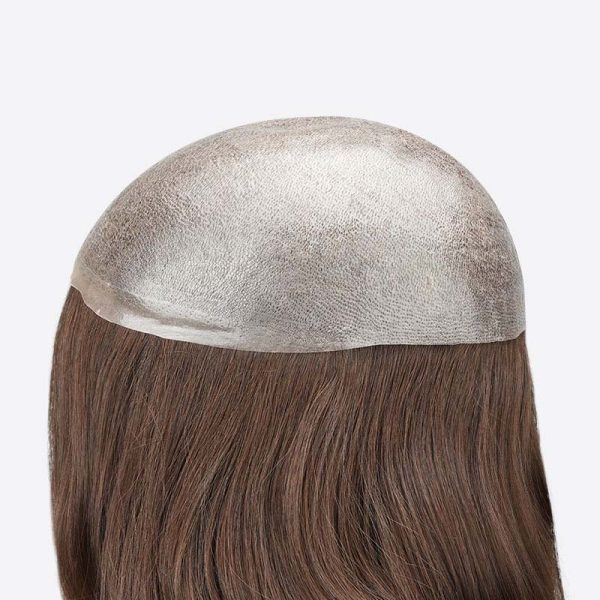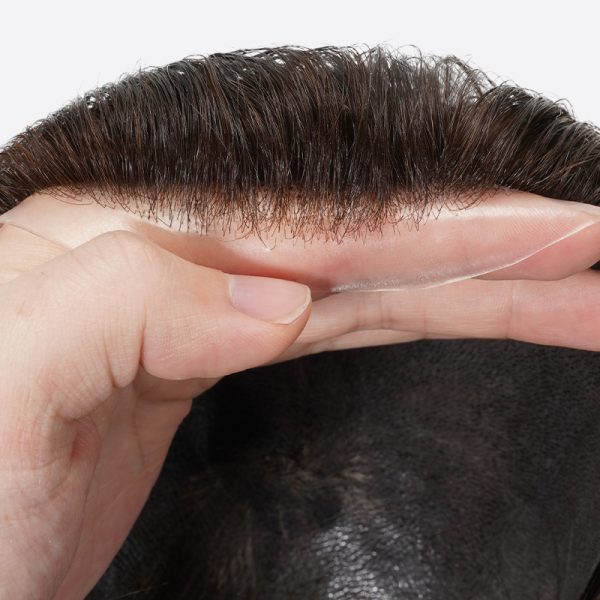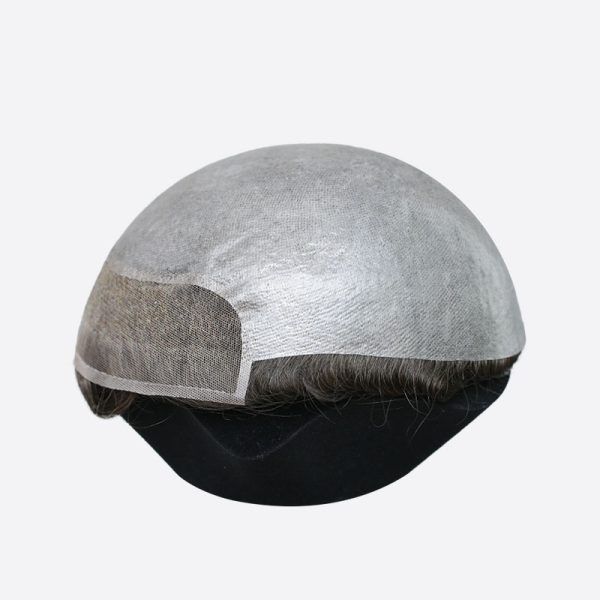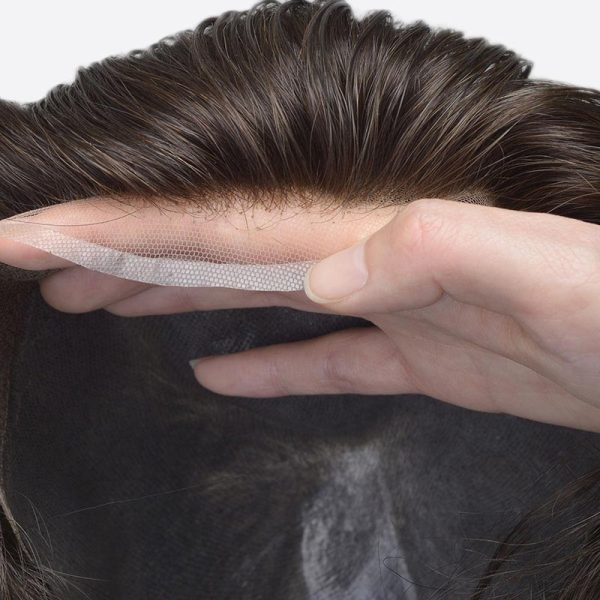














Thin skin systems don’t need complicated maintenance. What they do need is a lighter touch, especially when you’re working with a 0.02–0.03mm ultra-thin base.
For salon professionals, the goal of each maintenance appointment is straightforward: protect the system during maintenance and give client a secure, clean installation.
This guide breaks the process down into a practical maintenance SOP.
Thin Skin Hair System Maintenance: Quick Guide
-
Remove the system
-
Remove adhesive
-
Wash and condition
-
Prepare the scalp
-
Reattach
-
Style and check
The process is pretty much the same as with other skin systems. The difference is that you need to be more careful at every step.
Don’t pull, stretch, or rub the base more than you need to, and keep the heat under control. It will help the base and the hair hold up longer.
Step 1: Remove the Hair System
Before reaching for the adhesive remover, run your finger around the edge. Sometimes the bond has already loosened enough to peel off easily.
When there is resistance, apply an adhesive remover such as C-22, give it a little time (around 1 minute) to break down the bond, then keep peeling. Slide or peel the base backward rather than pulling it straight up. If it’s still sticking, apply more remover and give it time to work.
Thin skin bases can stretch easily, so do not force the system off just because part of the edge has already released.
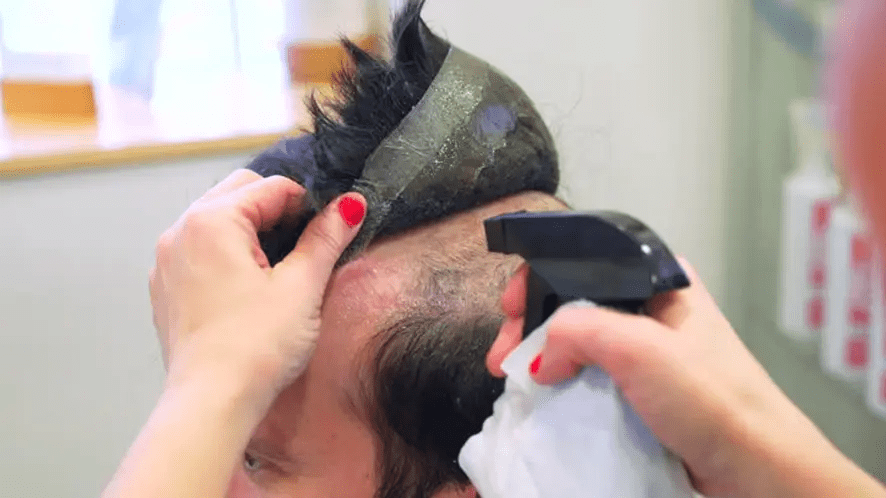
Avoid:
-
Pull on a section that’s still bonded
-
Stretch the base while removing it
Step 2: Remove Adhesive from the Poly Base
Now turn the system over and deal with the adhesive on the underside.
Apply adhesive remover to the residue and let it soften. Then gently use your fingers or a soft cloth to lift it away. For stubborn buildup, giving the remover more time to work.
Shampoo doesn’t remove adhesive residue, so make sure the residue is removed before washing.
Tip: While cleaning, check the base for tears, thinning areas, lifting edges, or loose hair to make sure the system can be reuse.
Avoid:
-
Scraping the base or aggressive rubbing
-
Pulling at adhesive that has not softened
-
Stretching the skin base while cleaning
Step 3: Wash and Condition the Hair System
After the adhesive has been removed, wash the hair system to remove scalp oil, styling products, and other buildup.
A. Detangle First
Use a wide-tooth comb with smooth, rounded teeth. Start at the ends and work your way up if there’s a knot.
Don’t drag the comb straight through a tangle from the roots. That’s an easy way to pull hair out.
B. Wash the System
Use cool or lukewarm water and a gentle, sulfate-free shampoo made for wigs or hair systems.
Work the shampoo through the hair, then gently squeeze the system so the cleanser reaches the whole unit. Unlike lace, a poly base does not allow shampoo to pass through the base, so clean both the hair side and the underside of the poly base.
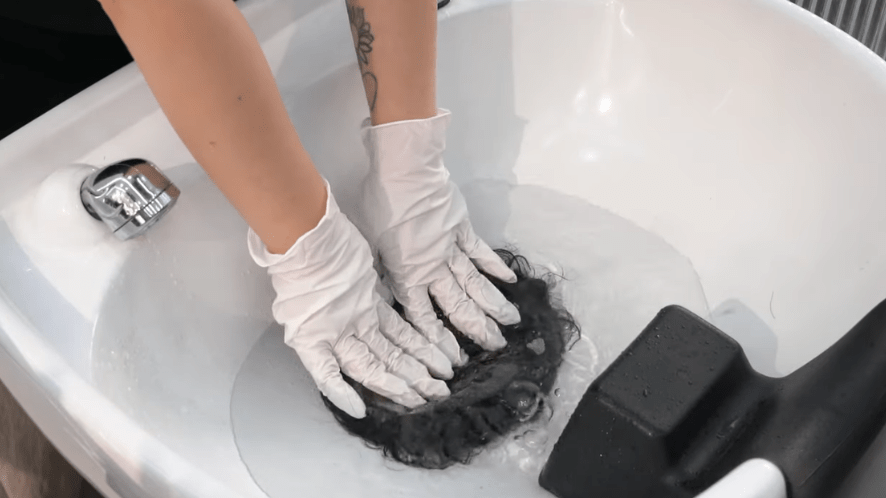
Avoid hot water, which can damage the base and make the hair attachment more vulnerable to shedding.
C. Condition the Hair
Apply conditioner mainly to the middle and ends of the hair. Avoid the roots and knots as much as possible.
That’s easier said than done with men’s hair systems because the hair is usually short. Some conditioner will probably reach the roots. That’s fine. Just don’t leave it sitting there for a long time. Keep the conditioning time to 1 to 3 minutes and rinse thoroughly. If left on too long, the conditioner can lubricate and loosen the knots, causing premature shedding.
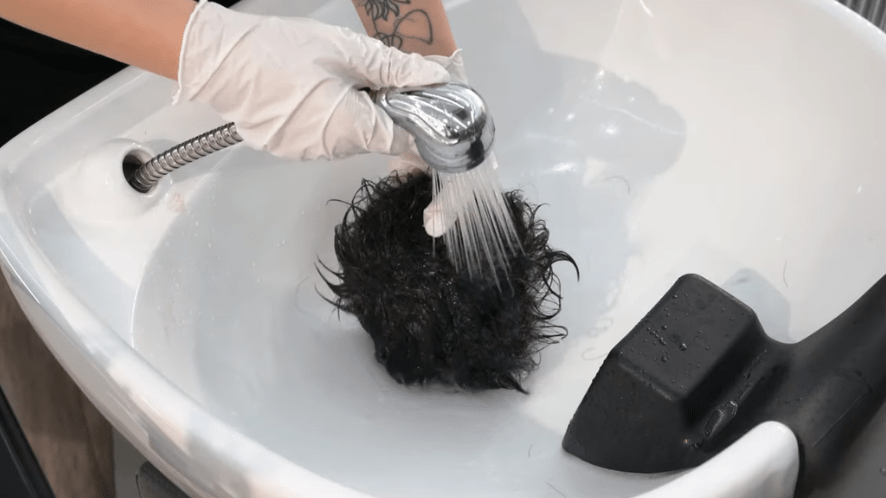
D. Remove Excess Water
Use a towel to press out excess water. You can apply firm, straight-down pressure, but do not rub, twist, or scrub the hair or base.
Use a professional wig stand to air dry the system when possible. The hair does not need to be completely dry before reinstallation, but the base must be dry before adhesive is applied.
Avoid:
-
Forcing a comb through knots while detangling
-
Hot water
-
Scrubbing the thin skin base
-
Hair roots soaking in conditioner longer than xxx minutes
The goal is to clean the hair without creating unnecessary tension on the base or hair attachment.
Step 4: Prepare the Scalp
While the system is drying, prepare the client’s scalp.
A. Remove any old adhesive and excess oil from the scalp with a suitable adhesive remover or scalp cleanser.
B. Shave or trim any new hair in the attachment area.
C. Then let the scalp dry completely.
Before reattachment, check that the scalp is clean and dry and that there is no visible irritation or other issue that could affect the installation.
Step 5: Reattach the Thin Skin System
Before you start, check the two surfaces you’re about to bond: the scalp is dry and the poly base is dry.
A. Apply Scalp Protector
Apply scalp protector on client’s head, and give it 30 to 60 seconds to try.
B. Apply the Adhesive
Apply a layer of liquid adhesive to the system base or directly onto the client’s scalp. Wait 3 to 5 minutes for it to dry; you will know it is ready when the adhesive turns completely clear.
Glue is generally preferable to tape for thin skin when possible, because removing tape requires pulling it away from the base and can place additional stress on the PU base.
Pro Tip: Avoid Wiping Alcohol on Ultra-Thin Skin Bases
With a 0.02–0.03mm skin base, there’s really no need to wipe the base down with rubbing alcohol just to get it extra clean. Alcohol can dry out the PU and make an ultra-thin base less flexible over time, which can lead to cracking or tearing.
This isn’t usually as much of a concern with thicker skin, but with an ultra-thin base, we’d rather skip the extra alcohol and keep the cleaning process simple.
C. Position the System
Align the system carefully, then roll it forward from back to front—similar to applying a screen protector.
Keep the base flat without stretching it. Smooth it down gradually and make sure there are no bubbles or wrinkles.
D. Press the System Down
Once the system is in the right position, put a clean towel over it and gently press the base down to ensure good contact. After you’ve confirmed the position is correct, switch to a firm, even pressure, pressing down for 30 to 60 seconds to fully set the adhesive.
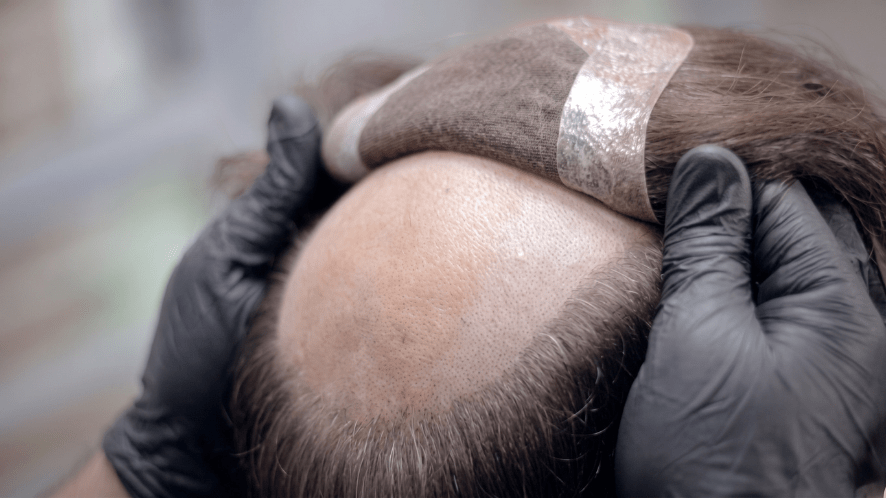
Avoid:
-
Bond over a wet scalp or wet base
-
Use excessive adhesive
-
Stretch the system into position
-
Slide it around after it has touched the adhesive
Step 6: Style and Check
After the system is securely attached, gently comb and style the hair.
Keep the heat low if you’re using a blow dryer, and keep it moving. Don’t leave hot air sitting on one spot of the skin base.
Stick to lightweight styling products. Heavy or greasy products can weigh the hair down and leave more buildup on the system.
Before the client gets out of the chair, check the hairline, edges, and the whole base. Make sure everything is flat and firmly attached, and don’t forget the aftercare reminder.
Before they go, remind the client to take it easy for the first 24 hours. Avoid shampooing, heavy exercise, swimming, or anything that could disturb the fresh bond. The exact aftercare depends on the adhesive you’re using; for example, Walker recommends waiting at least 24 hours before shampooing or working out.
Thin Skin Hair System Maintenance Checklist
Removal
☐ Check the edges before applying remover
☐ Use remover where the bond is still holding
☐ Peel back gradually without stretching the base
☐ Check the base for tears, thinning, or loose hair
Cleaning
☐ Remove all adhesive residue
☐ Detangle before washing
☐ Use cool or lukewarm water
☐ Use a gentle, sulfate-free shampoo
☐ Clean both the hair and poly base
☐ Condition mainly the mid-lengths and ends
☐ Keep conditioner away from roots when possible
☐ Rinse conditioner thoroughly
☐ Press out water without rubbing
Reinstallation
☐ Scalp is clean, shaved, trimmed, and dry
☐ Poly base is dry
☐ Scalp protector is dry
☐ Adhesive is applied correctly
☐ System is positioned without stretching
☐ Base is fully attached with no wrinkles or bubbles
Final Check
☐ Hair styled
☐ Hairline checked
☐ Edges checked
☐ Attachment secure
☐ Client comfortable
☐ Aftercare explained
Final Thoughts
Thin skin hair systems offer a lightweight feel, a flat fit, and a very natural-looking hairline. That’s why many clients are willing to choose them even though the thinner base needs more careful handling.
For a salon, that extra care is part of the service. Thin skin systems need proper removal, cleaning, and reattachment, and clients are more likely to come back to a salon that can handle these jobs well. That means more professional service opportunities and a better experience for the client.
FAQs About Skin Hair Systems
How long does a thin skin hair system last?
A 0.02–0.03mm ultra-thin skin hair system for men is often designed for lasting around one month. With careful maintenance and daily care, some can last two or even three months if the base and hair are still in good condition.
How often should a thin skin hair system be maintained?
The exact maintenance schedule depends on the adhesive, scalp condition, and client’s lifestyle. Regular wearers may go around 2–3 weeks between full maintenance appointments, while the hairline and people with oil scalp may need attention sooner.
How do you clean a poly hair system base without damaging it?
Remove the adhesive with a suitable remover first. Let it soften, then wipe it away without scraping or aggressive rubbing. After that, wash the system with a gentle, sulfate-free shampoo and clean both sides of the poly base.
How can you make a poly hair system last longer?
Handle the base carefully during removal, avoid hot water and excessive heat, detangle without pulling, keep conditioner away from the hair attachment points when possible, and avoid unnecessary maintenance cycles.
Can a torn poly hair system base be repaired?
Minor damage can be repairable, depending on where the tear is and how extensive it is. If the base is badly torn, heavily thinned, or the hair is shedding extensively, replacement is usually the more practical option.