


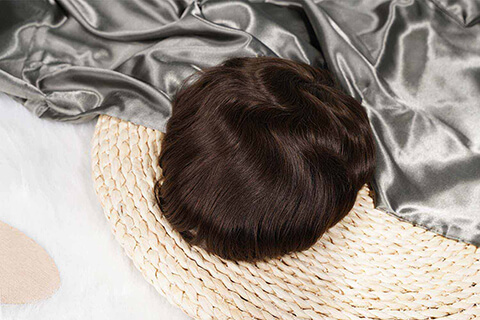


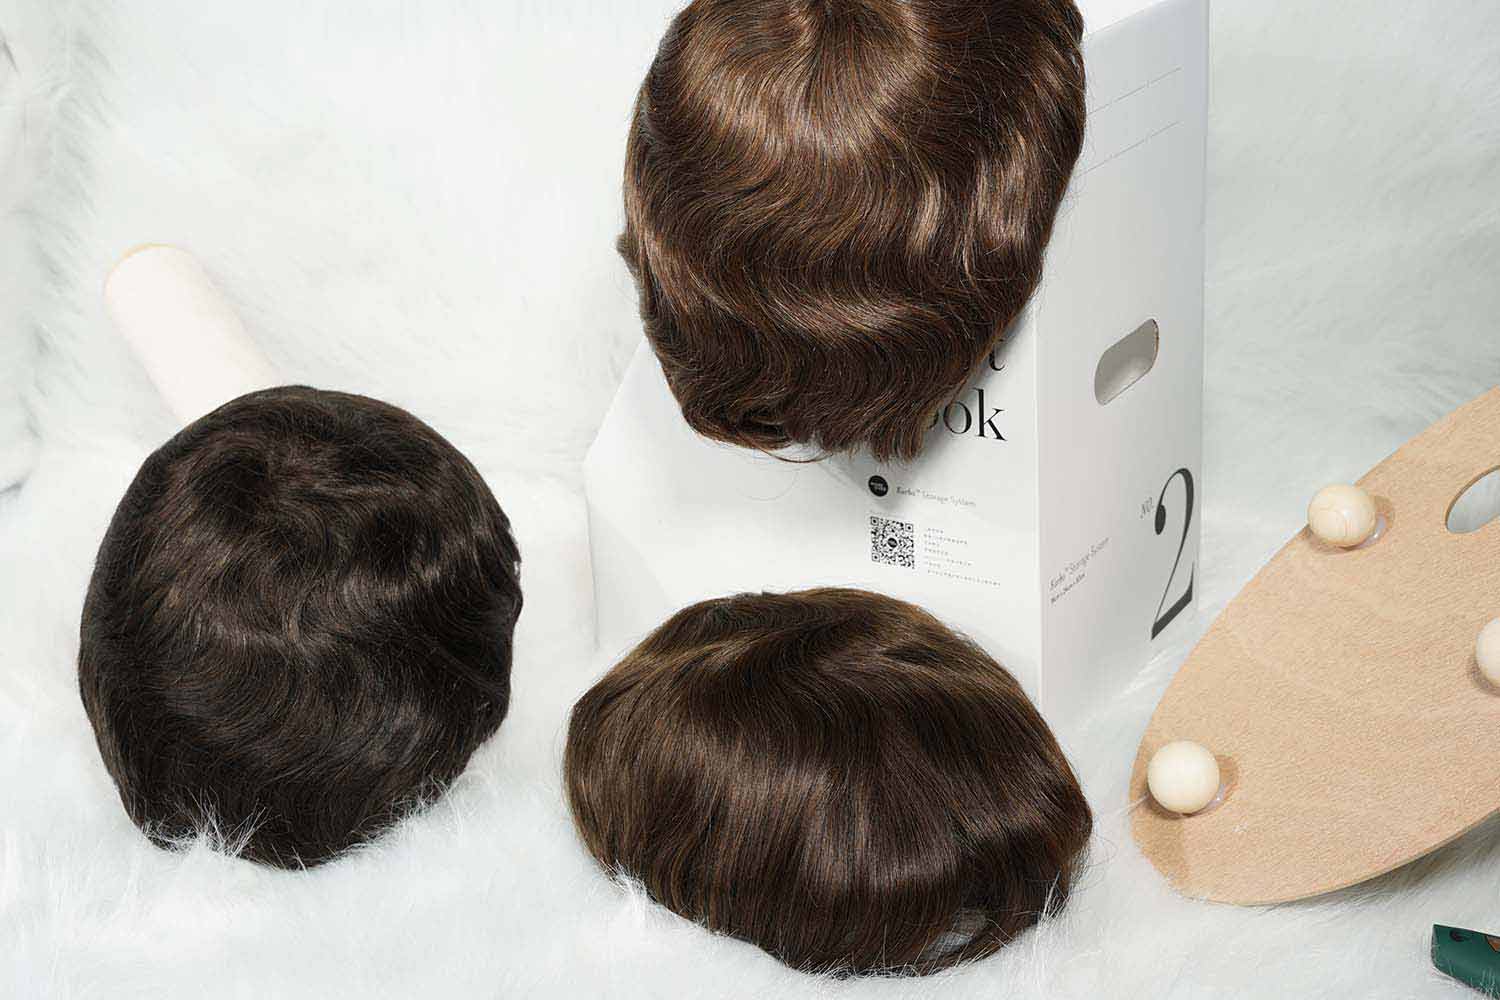


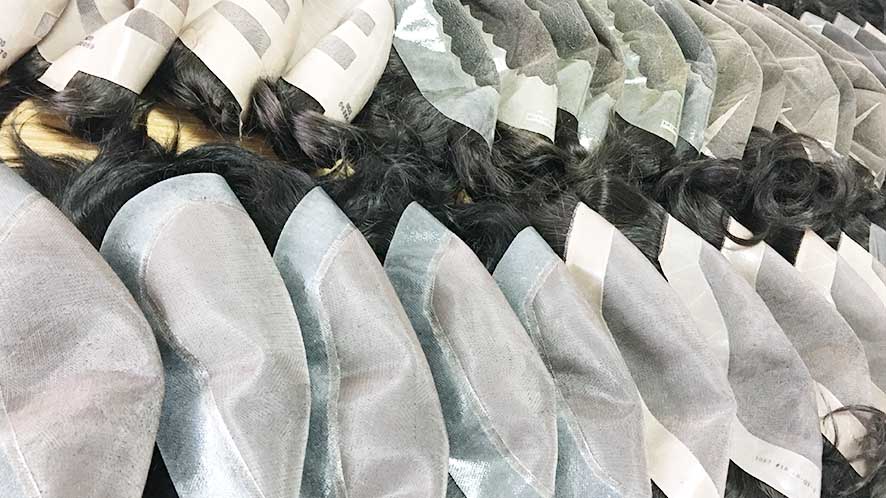
Introduction
Men’s hair systems are a personal product. Everyone’s head is different, meaning that the same men’s hair unit won’t work for every customer. The best way to ensure that you’re getting a well-fitting men’s hair system is to create a custom hair system template. This hair system template will be used by your chosen manufacturer to help ensure that the hair system fits your client. If you’re a hair salon, you can use this hair system template for a specific client or create a wide variety to use as a size range for your products.
Our step-by-step guide takes you through the easiest way to create an accurate men’s hair system template. You want the hair system to perfectly complement the contour, shape, and size of your client’s head for a more comfortable experience.
If you’re planning to offer a custom service for your clients, you’ll need to know how to make a custom hair system template. We recommend that you ask your clients to visit your salon to have their custom hair system template made to ensure the best results.
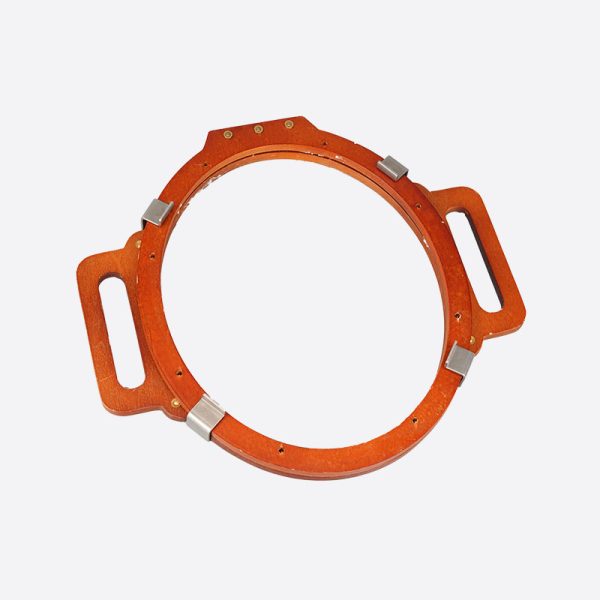
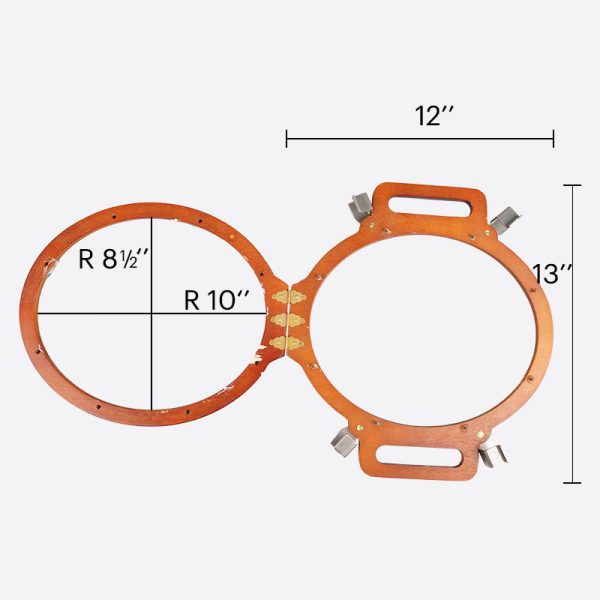
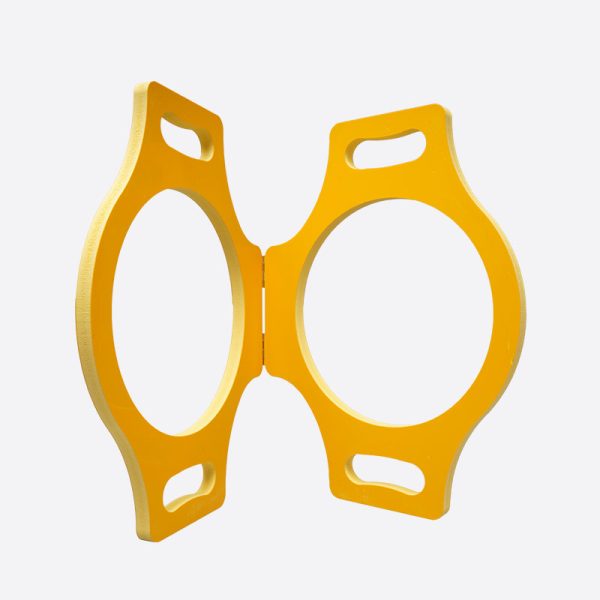
At Bono Hair, we have two tools available to help. Our hair system template maker pro and hair system template maker are essentials for any store or salon offering custom hair systems.
What You’ll Need to Make a Men’s Hair System Template?
Before we jump into our step-by-step guide, it’s worth covering the supplies you’ll need to make your toupee template.
- Brush/comb
- Cellophane tape (we recommend pre-cutting)
- Clear packing tape (usually 6 pieces at 10-inch long)
- Hand mirror
- Permanent maker
- Plastic kitchen wrap (around 2x 3-foot pieces)
- Scissors
- Water
- Eyeliner
How to Make a Standard-Size Template or Front Hairline Template?
Creating a custom hair system template for your client ensures that you’re ordering a size that will fit comfortably and give them the most natural look. This guide shows you how to make a standard-size or frontal hair system template.
When you’re starting, you should to use your eyeliner to place a line at what will be the center point of the client’s frontal hairline. This step is essential if they don’t have a frontal hairline or if they’re planning to shave it off. (Please check the video on how to locate your client’s hairline)
Once you’ve marked the hairline, it’s time to decide how much of the head that the hair system needs to cover. You should make a recommendation to your client based on their hair loss and thinning patterns. You’ll want to take a close look at the hair to determine this.
1. Cover the chosen area with plastic wrap
Dampen the hair and use a comb to help flatten it, which will help the plastic wrap sit in place for a close fit. Check if the plastic wrap is enough to cover the full area, including if you need a full cap. If you need more than one piece of plastic wrap, stick them together with tape.
Lay the plastic wrap over the head, pulling the lengths of it to the sides of the head, working from each side. You can tighten the plastic to the contours of the head by twisting the end of the plastic until it becomes taut.
Secure the plastic wrap around the head to keep it in place. You should not untie this section until you’ve removed the plastic wrap from your client’s hair.
The plastic wrap should lay smoothly against the scalp, with the least number of wrinkles possible. Cut away any excess plastic and tape the remaining ends of the plastic behind the ear, making sure it’s smooth against the scalp.
2. Trace your desired coverage area
Now it’s time to get specific with your toupee template. Take your permanent marker and draw onto the plastic wrap where you want the hair system to cover. You should work to make the line visible and thin, as going too thick can make it difficult to tell where the edge actually is. Keeping the line thin means that you can achieve a more accurate toupee template. Use a cross to represent where the crown of the head is.
With a frontal hair system, most people decide to eventually shave off their existing hairline. If this is the case, you want to pay extra attention to tracing this area for a natural appearance. It’s also important to be as accurate as possible with your measurements and lines when making a standard-size hair system template.
3. Tape the toupee template into place
You want to keep your toupee template in place by applying small sections of tape. Start by applying the tape at the front of the toupee template and the back to keep it in place. You want to apply tape at each side of the hair system template, working from the front to the back. Add a secondary layer of tape, working from the top to the bottom of your toupee template.
4. Cut the hair system template
Slowly remove the template from your client’s head and cut out the template around the lines that you had previously made. You should leave around half an inch of excess outside of the thin lines. Once you’ve finished cutting, retrace the same line to make sure it is easy to see and as clear as possible.
5. Mail off the toupee template
Securely wrap up the template after the permanent marker has dried. If you’re sending multiple templates for different clients, make sure that these are easily identifiable by adding and including a code for each. If your client has a specific color code chosen, you can also include this on the template or communicate it directly to us.
Send your template directly to us at:
Room 1402, Building 4, No. 117
Shandong Road, Qingdao,
China
266000
We recommend sending your parcel in a flat envelope to keep your male hair unit template secure. You want to ensure that you include your contact information, including your name, inside the package so that it can be easily identified. Once we receive your template and confirm your order, we’ll start production of your custom hair systems.
If you have any issues, you can contact us directly at [email protected].
How to Make a Full Cap Size Men’s Hair System Template
If you’re aiming to make a full cap-size men’s hair system, you want it to end above the fold at the neck. The easiest way to find this is where the loose tissue sits at the nape of the neck, just below the ear lobe. You want to avoid going too much lower than this as the head movements will stop the men’s hair unit from remaining in place.
You’ll follow the same steps as the “frontal hair system” template when making a full cap template, and focus on a few specific steps:
- When you’re covering your head with the plastic wrap, secure it by tying the ends of the plastic wrap under the chin. When you’re working with the plastic wrap around the ears, it’s best to use scissors to cut at the area around the ears for a flush silhouette.
- You want to ensure that you use a thin line when drawing the coverage area onto your plastic wrap. If you go too thick with the permanent marker or go too wide, you may end up with an ill-fitting men’s hair unit. With a full cap size, it’s important that you are as accurate as possible.
- The advice above is exceptionally important when it comes to cutting the plastic wrap for a custom fit. You want to give half an inch of excess beyond the line, before going over the existing line to make it clearer and more visible. If you go too wide with your initial lines, you’ll end up with a longer or wider hair system than desired.
Whether you’re a stylist ordering for a client or a brand looking to stock a wide range of sizes, you want to use a template for the perfect custom fit. Ensuring that you follow these steps correctly is the best way to guarantee that you’ll get a men’s hair system that works for your clients.
Offering a custom hair system can help elevate your services and take them to the next level. This step-by-step guide is the advice that you should give to any clients in this scenario.
How to Make a Standard-Size (≤8*10″) Hair System Template?
Occasionally, you’ll have a client who needs a smaller custom hair system. If their hair system template is under 8″x10″, they’ll fall into a special category that won’t work with most standard stock sizes.
If you have a client like this, we recommend still following the steps above. The main difference between making a typical hair system template and a smaller one is that getting your measurements correct becomes even more important. On a smaller client, a few inches can make a hair system unwearable.
It’s worth double-checking the template on your client’s head after finishing to ensure that you have accounted for too much excess when cutting your toupee template.
If you’re a brand looking to stock a variety of men’s hair units, we recommend starting with the 8″x10″ size. It’s one of the most popular options alongside the other default sizes of 7″x9″, 7″x10″, 6″x8″ and 6″x9″. If you’re looking for this size, your best option is to speak to us directly.
As it’s a standard stock size, there’s no need to make a specific template for these men’s hair systems. Not requiring a custom size for your hair system means that you can speed up the production process and get your products through the product line quickly.
While standard sizes like this are ideal for starting your business and growing your client base, you will want to expand to offer custom hair system templates. Whether you’re a hairstylist or an e-commerce store, offering a custom service can be a game-changer for your business.
Although the standard stock sizes have their benefits, they’re not ideal for targeting exact hair loss. Your clients will usually have to cut the base of the male hair unit to get a better fit for them.
Conclusion
We hope this step-by-step guide makes it easy for you to create a men’s hair system template. This advice is what we recommend sharing with your clients directly if you’re also offering a custom service for individual hair systems. If you have any questions, you can contact us directly at [email protected].


Muchas gracias. ?Como puedo iniciar sesion?
Click “Login In”, enter the login page.
If you still cannot log in, please contact our customer service team.
whatsapp: +8617561788081
email: [email protected]