














K-tip extensions are known for their long-lasting wear and natural-looking finish. However, many people are still unsure about how they work, how long they last, and whether they can damage natural hair.
This guide covers everything you need to know about K-tip hair extensions, including their pros and cons, installation process, maintenance requirements, lifespan, common concerns, QC process, and the key product factors salons and hair businesses should evaluate when sourcing them.
Key Takeaways
-
K-Tip hair extensions are strand-by-strand keratin bond extensions that deliver a natural, seamless finish with long wear time.
-
They usually last 3–5 months per install and are mostly not reusable.
-
Good results depend on proper heat installation and correct strand selection.
-
Daily care matters: gentle brushing, correct washing, and keeping oils away from the bonds.
-
For salons and B2B buyers, consistent bond quality and stable production are key.
What Are K-Tip Hair Extensions?
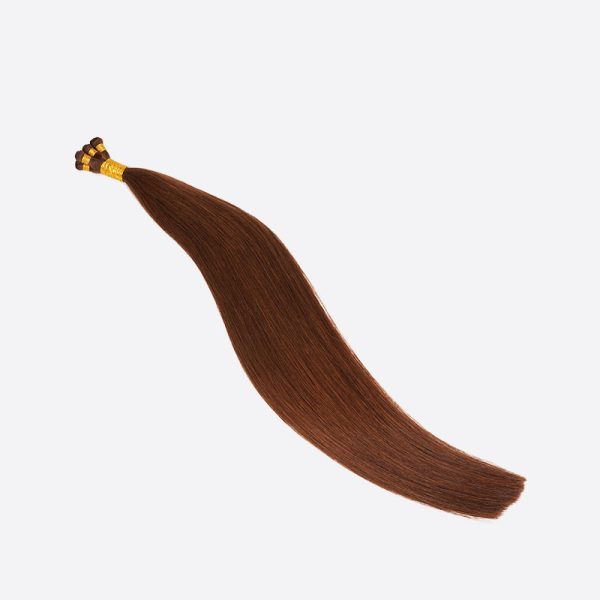
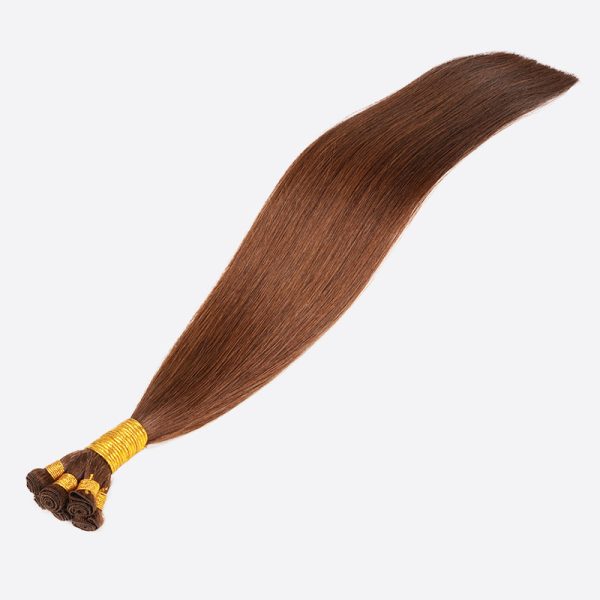
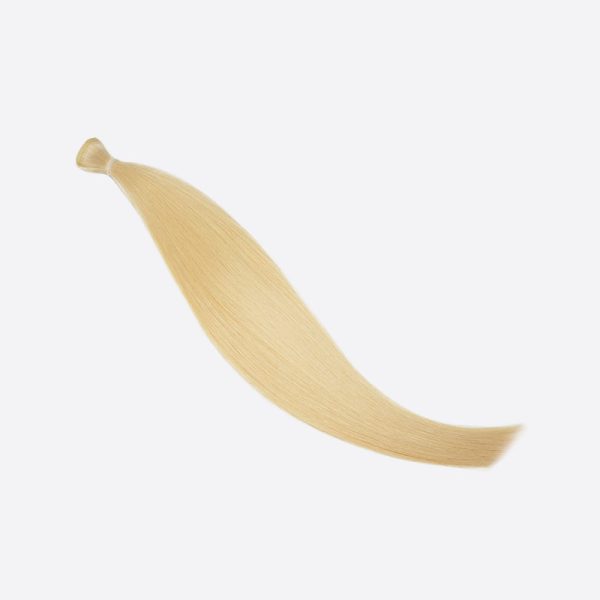
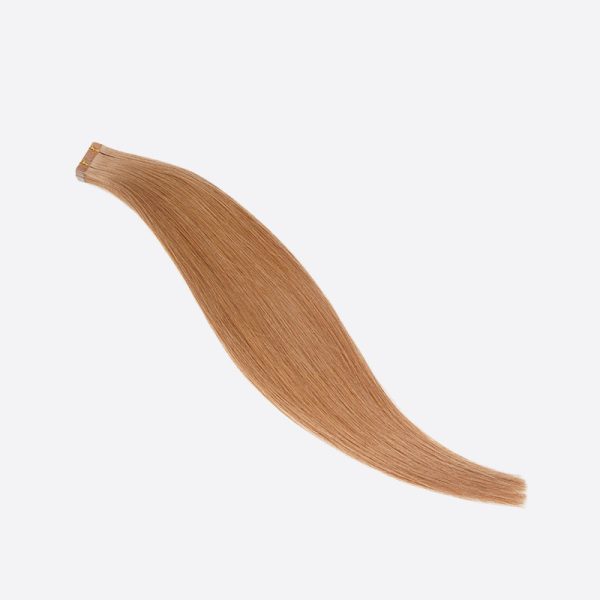
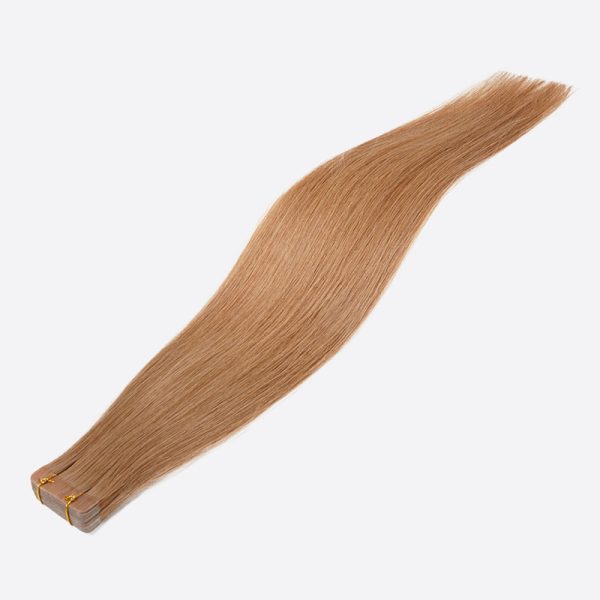
K-tip hair extensions are individual strands of extension hair with a small keratin bond at the top.
The “K” in K-tip stands for keratin, a protein-based adhesive used to attach the extension to natural hair through heat fusion. Because of this, K-tip extensions are also commonly known as keratin bond extensions or fusion hair extensions.
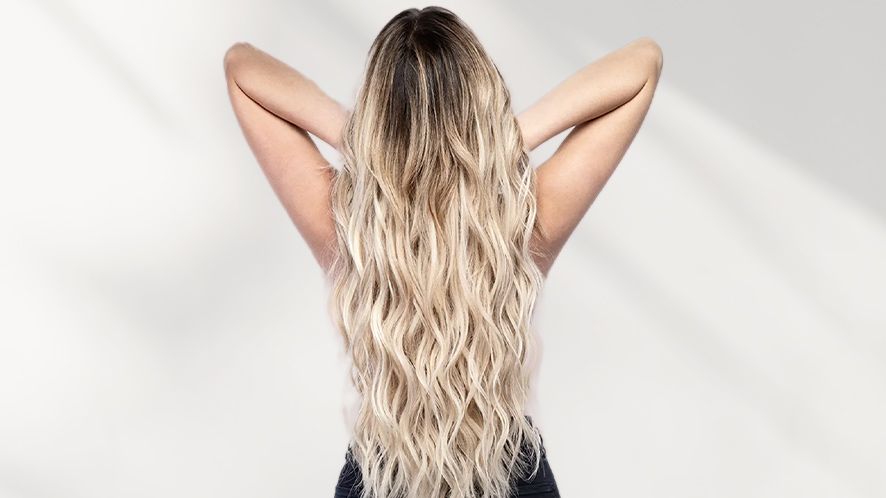
Installed strand by strand, they offer natural movement with no visible wefts or tape tabs, making them one of the most invisible extension methods available. They are ideal for clients seeking long-lasting wear and maximum styling flexibility.
There are different bond shapes for K-tips, including U-Tip (Nail Tip), Flat Tip, and V-Tip for different fusion techniques and salon preferences. I-Tip extensions are often mentioned alongside K-tips, but they are technically a different method. Instead of using heat and keratin fusion, I-Tips are usually installed with micro rings or beads.
How K-Tip Extensions Work
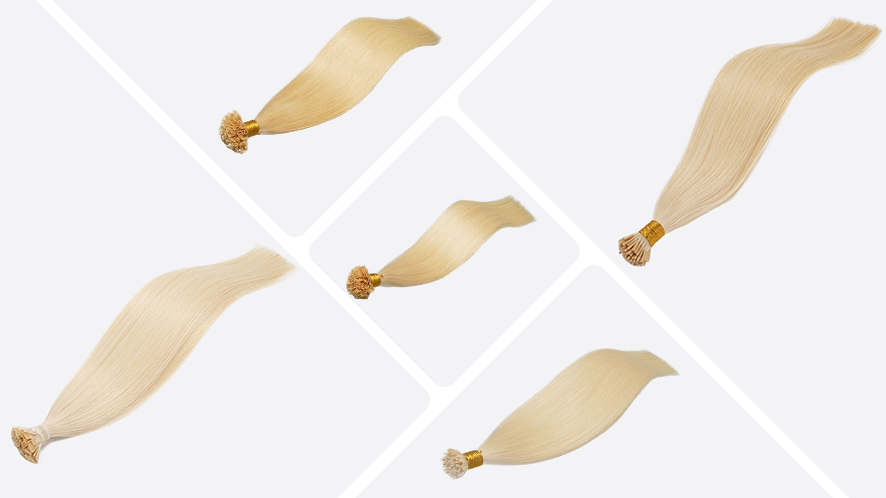
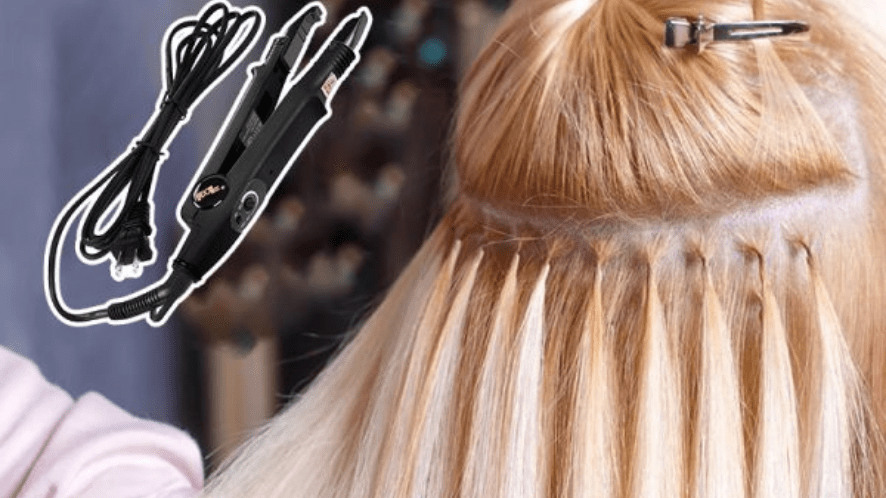
The keratin bond is the soul of K-tips. It holds the extension and the client’s natural hair together. During installation, the bond is softened with a heat tool, wrapped around a small section of natural hair, and gently molded into place. As it cools, it hardens into a secure attachment that moves naturally with the hair.
A good bond should soften evenly during installation, wrap securely around the natural hair section, and hold through normal brushing, washing, and styling. It should also have a balanced size, a clean and consistent shape from strand to strand, and no visible cracks or weak points.
K-Tip Hair Extensions Pros and Cons
Pros
-
Well-blended and natural movement.
-
lightweight.
-
Less visible attachment points.
-
Easy to style.
-
No need to do frequent move-up appointments.
-
Can last for 3–5 months with proper care.
Cons
-
Takes longer to install.
-
Usually cannot be reused after removal.
-
Can cost more over time than reusable methods.
For Salons
-
Supports higher-priced services.
-
Allows highly customized installs.
-
Requires more time, focus, and technical skill than many other hair extensions.
-
Clients may not return as frequently as they would for maintenance appointments.
K-Tip vs. I-Tip Extensions
K-tip and I-tip extensions are both strand-by-strand methods and often discussed together, but they differ in installation, maintenance, and reusability.
| K-Tips (keratin bonds) | I-Tips (micro rings) | |
| Attachment Method | Keratin bond fused with heat | Micro ring secured without heat or glue |
| Installation Tool | Heat fusion tool | Beads or rings |
| Maintenance Cycle | Worn 3–5 months before removal | Move-up every 6–8 weeks |
| Reusability | Usually not reusable | Hair can usually be reused with new beads |
| Best For | Clients who want Long-term wear with minimal salon visits | Clients who prefer reusable extensions with no-glue and no-heat install |
| Watch-Out | Professional removal is a must; usually not reusable after removal | Beads can show, slip, or feel tight if installed incorrectly |
How to Match K-Tip Extensions to Your Clients’ Hair Types
To achieve a natural-looking result, you need to evaluate three key factors: hair density, color, and texture.
1. Hair Density
Hair density affects both strand weight and bond size selection.
For fine or thin hair, lighter strands and smaller bonds are usually a safer choice. In many cases, customized 0.8g or 0.5g strands work better than standard 1g strands.
Medium to thick hair gives stylists more flexibility when planning an installation because they can take more weight. The number of strands can be adjusted based on the client’s natural density and desired result.
2. Hair Color
Good color matching is often what makes extensions look natural.
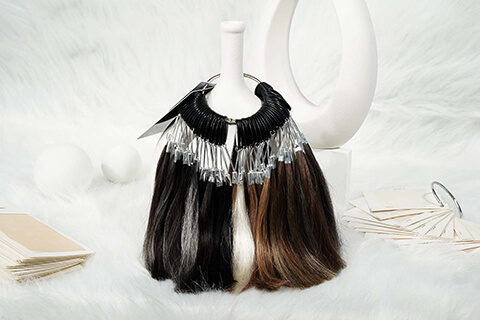
The goal is not just matching the client’s overall hair color, but also matching highlights, lowlights, root shades, and color transitions when needed. This is why color is one of the most commonly customized aspects of a hair extension order.
3. Hair Texture
Texture matching matters just as much as color matching.
For curly, wavy, or textured hair, the extension texture should follow the client’s natural movement pattern. If the textures do not match, the hair may blend well right after styling but become harder to blend and maintain after washing.
Professional K-Tip Installation and Removal
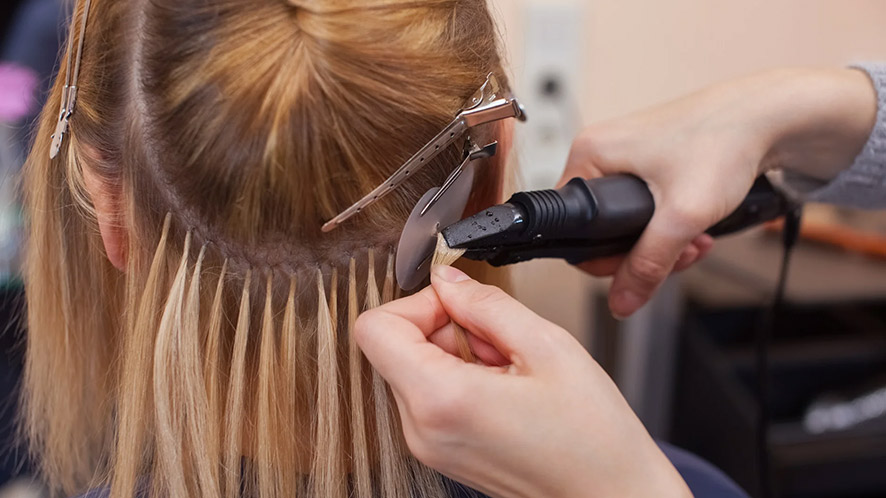
Keratin bond extensions require more precision than other extension methods because it is harder to undo if something is wrong. If you’re new to fusion installation, it’s worth watching several professional tutorials and practicing on a mannequin before working on a client. Below is a simplified overview of the installation and removal process.
How to Install Keratin Bond Extensions
Step 0. Before Installation
Choose the appropriate strand weight, match the extension color, and plan the sectioning.
Step 1. Prepare the Hair
-
Wash the client’s hair and dry it completely.
-
Section the hair neatly using clips.
Tips
-
Do not install on wet or damp hair.
-
Avoid sectioning too close to the hairline or natural parting. Leave a 1–2 inch safe zone around both areas.
Step 2. Attach the Extension
-
Use a heat protection pad and sectioning clips to isolate a small strand of hair.
-
Place the extension beneath the isolated strand, about 1/4 inch from the scalp.
-
Heat the keratin tip until it softens completely.
-
Roll the softened keratin evenly between your fingers to form a secure bond around the natural hair.
Tips
-
Avoid prolonged heat exposure to protect natural hair.
-
Keep each bond about 1/4 inch from the scalp.
Step 3. Continue the Installation
-
Repeat the process row by row.
-
Keep even spacing and follow a brick-lay pattern.
Tips
-
Keep a finger-width distance between bonds.
-
Leave 1/2–1 inch between rows.
Step 4. Let the Bonds Cool
-
Allow each bond to cool completely before brushing or styling.
-
Check every bond to ensure it is fully sealed.
-
Trim or blend the finished extensions if needed.
Tips
-
Do not wash the hair for at least 48 hours after installation.
-
Avoid putting tension on newly formed bonds.
How to Remove Keratin Bond Extensions
Step 0. Before Installation
Brush the hair to remove tangles and separate the extensions into manageable sections.
Step 1. Apply Bond Remover
-
Apply a professional keratin bond remover directly to each bond.
-
Wait 5–10 seconds for the remover to soften the keratin.
Tips
-
Focus the drops exactly on the bond.
Step 2. Break the Bond
-
Use extension removal pliers to gently crack the softened bond.
Tips
-
Do not force the bond if it does not release easily. Apply more remover if needed.
Step 3. Slide Out the Extension
-
Hold on to the hair near the root and gently slide the extension out.
-
Remove any remaining keratin residue.
Tips
-
Avoid twisting or tugging the natural hair.
-
Remove one bond at a time.
Step 4. Clean and Prepare the Hair
-
Comb through the hair to remove any keratin residue.
-
Wash and condition the hair before reinstalling new extensions if needed.
Tips
-
Some natural shedding is normal after removal.
-
Check the hair condition before a new installation.
K-Tip Extension Maintenance: What Salons Should Tell Clients
-
Brush gently. Use an extension brush and support the hair near the bonds while brushing to avoid pulling.
-
Wash correctly. Use gentle shampoo and keep conditioner, oils, and hair masks away from the keratin bonds.
-
Sleep with dry hair. Never go to bed with wet hair. Braid long hair loosely before sleeping.
-
Use heat carefully. Heat styling is fine, but must avoid applying heat directly to the keratin bonds.
-
Protect the hair after swimming. Rinse, dry, and gently brush the hair after swimming in chlorine or salt water.
-
Visit the salon every 6–8 weeks. Regular check-ups help monitor bond condition, hair growth, and tangling.
Common K-Tip Extension Problems Stylist Should Prevent
Most keratin bond extension problems are preventable.
-
Slipping bonds Often caused by oversized sections, weak keratin bonds, or oily products near the roots.
-
Matting Usually happens when the hair is not brushed regularly or clients sleep with wet hair.
-
Scalp discomfort Often results from bonds placed too close to the scalp or extension strands that are too heavy.
-
Visible bonds Usually caused by improper placement (bonds too close to the hairline or parting), oversized bonds, or poor color matching.
How to Choose Quality K-Tip Hair Extensions Wholesale
Before placing a wholesale order for K-Tip hair extensions, you should know how to evaluate both product quality and supplier consistency.
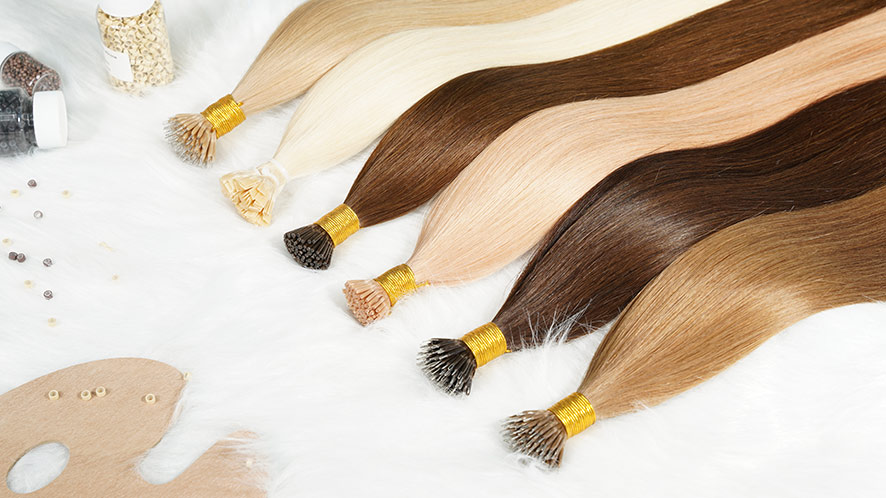
How We Inspect K-Tip Hair Extensions Before Shipment
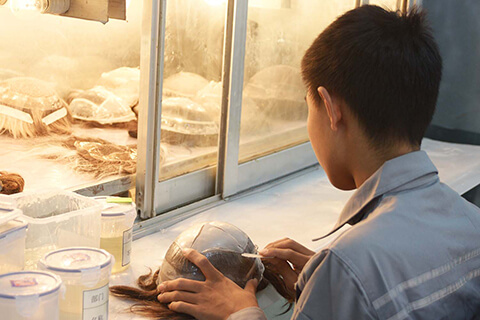
Bono Hair has been working in wholesale hair extension manufacturing for over 20 years, and we run our own factory where we handle the full production process of hair extensions—from raw hair selection all the way to final quality control.
For K-tip extension quality control, our QC team checks the following key points.
-
Hair texture, making sure the hair feels smooth from root to tip without excessive dryness, tangling, or rough sections.
-
Short hairs and hair ends, ensuring the hair looks full and the ends are even rather than thin or uneven.
-
Color consistency, comparing each batch against the approved color standard to keep repeat orders consistent.
-
Strand weight, verifying that every bundle matches the ordered specification within the production tolerance.
-
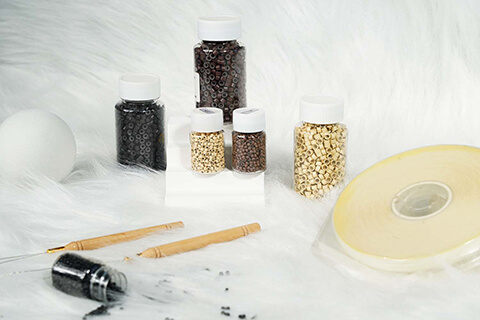
Keratin bonds, making sure every bond has a consistent shape, no visible air bubbles, cracks, no whitening, and no excess keratin on the hair shaft.
-
Bond strength, randomly sampling bonds from each batch for 180°C-200°C melt and pull tests to ensure secure attachment.
What to Look for When Choosing a Hair Extension Supplier
-
Choose a real hair extension manufacturer with stable production capacity.
-
Ensure consistent 100% Remy or Virgin human hair quality.
-
Check keratin bond quality and installation performance.
-
Confirm strict quality control across all batches.
-
Look for manufacturer that supports full customization in length, color, attachment design, and strand weight.
-
Make sure the supplier supports stable repeat orders.
-
Prefer partners with reliable communication and long-term cooperation.
Final thoughts
K-tip hair extensions are not the fastest or simplest extension method. But for the right client, they can create a soft, natural, long-lasting result that other extensions cannot always achieve.
For salons and hair businesses, the opportunity is also clear. K-tips can be a strong premium service or product line, but only when the product quality supports the work behind the chair.
More FAQs About K-Tip Hair Extensions
-
How Long Do K-Tip Extensions Last?
K-tip hair extensions typically last 3–5 months per install.
High-quality Remy or Virgin human hair can last 6–12 months, but the keratin bonds will grow down with the natural hair and must be removed.
For K-tip extensions, the lifespan depends more on hair growth and maintenance than on the hair quality itself.
-
Can Keratin bond extensions be reused?
Usually, no. K-tips are generally treated as single-install extensions because the keratin bond is broken down during removal.
In some cases, the hair itself can be reused if it remains in good condition, but it needs to be re-tipped or re-bonded before being installed again.
-
Are K-tip extensions good for fine hair?
Yes, they can be. But the stylist should use lighter strands, smaller bonds, and careful placement. Fine hair should not be overloaded. Customized 0.8g or 0.5g strands may be more suitable than standard 1g strands.
-
Do K-tip extensions damage natural hair?
Keratin bonded hair extensions are not inherently damaging.
They are applied using controlled low heat (around 160–180°C) that only touches the hair for a few seconds. For comparison, most styling tools like flat irons or curling irons usually go around 180–230°C.
With proper installation and the right strand weight for the client’s hair, keratin bonds can be worn safely without causing noticeable damage.
Yes, but they should take extra care. The keratin bonds are unlikely to get loose after a single swim, but chlorine and salt water can dry out the hair and may affect the keratin bonds over time.
After swimming, clients should rinse the hair with clean water, dry it thoroughly, and brush it gently.
-
How often should clients return for maintenance?
K-tip extensions don’t need regular move-up appointments, but a salon check every 6–8 weeks is recommended.
The exact timing depends on hair growth, hair density, lifestyle, and aftercare.


Thanks, I have recently been looking for info about this subject for a while and yours is the greatest I have discovered so far. However, what in regards to the bottom line? Are you certain in regards to the supply?
Thanks for your comment, please contact us at whatsapp or email directly.
whatsapp:+8617561788028
email:[email protected]
Where can I get the hot iron to install this extensions?
Thanks for your comment, we are contacting you.