


These Blogs published by Bono Hair are tailored for those who seek to attain a higher value proposition service to provide their customers with attention to detail and lasting relationships. Focused primarily for men’s toupee and hair replacement systems worldwide.
Introduction
In our previous blogs, we covered how to use either men’s toupee Tape Adhesive or Glue (liquid adhesive). Both have their pros and cons (such as tapes are easier to use and clean compared to glue. However, glue can give a perfect, precise finish with higher levels of invisibility).
This blog, however, will cover how to combine the use of both adhesives on a single men’s toupee. Quality is something that should always remain consistent, from purchasing, from quality suppliers, providing quality cutting, and especially quality fitting.
For more experienced specialist methods of attaching hair systems for men may vary, what does not change is the materials used in the attaching of men’s toupees. Glues and Tapes have been used for as long as toupees have existed, and they will continue to be used for the foreseeable future. Therefore, for beginners wanting to learn how they can provide their clients with a service worth sharing with their friends about, we have tailored our blogs just for you! So, here is how you can use both Glue and Tape when attaching your client’s toupee. Let’s get straight into it.
How to Attach a Men’s Hairpiece?
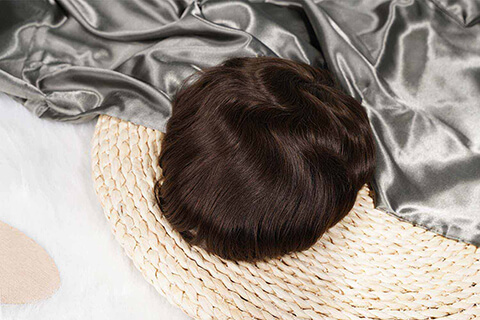
Unlike wigs and wefts, toupees are attached with Glue or Tape. The main difference is in women’s hair systems majority of the time are attached with hair clips that clip onto the existing hair on their head. This means that they take it off every night and put it back on every morning. Even though they can switch up styles more frequently, men using toupees have different needs and desires, switching up and standing out is not what they want.
Glues and tapes provide a fixed attachment to the wearers’ scalp for a set duration of time, allowing them to go on their daily activities without worrying about their hair, including waking up and going to bed, showering, sports, daily commutes, etc.
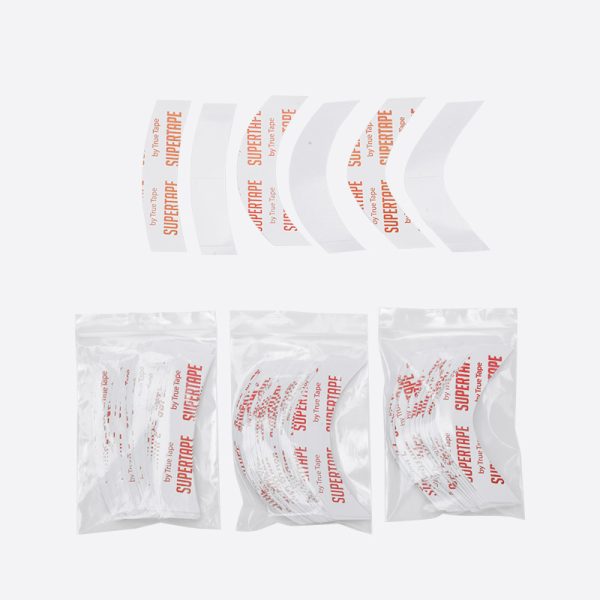
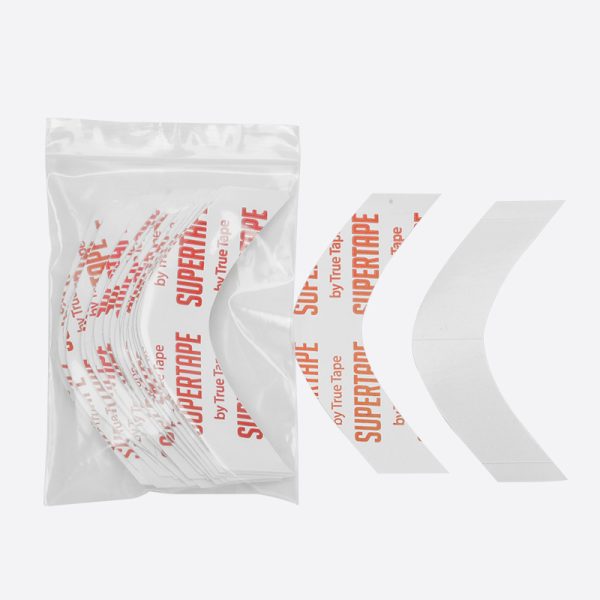
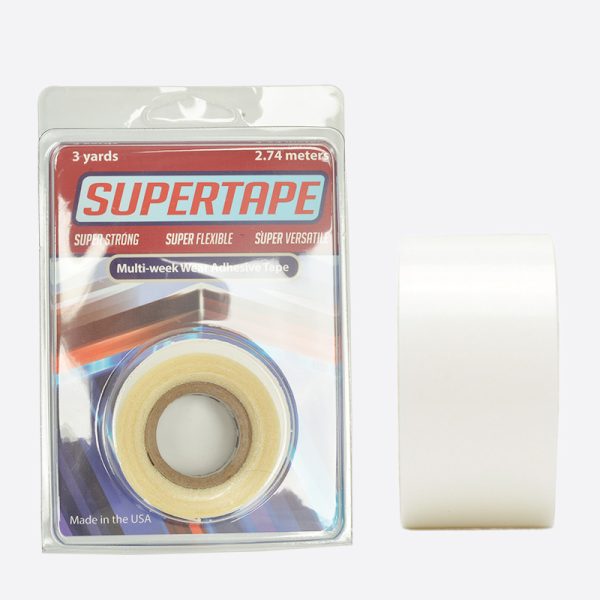
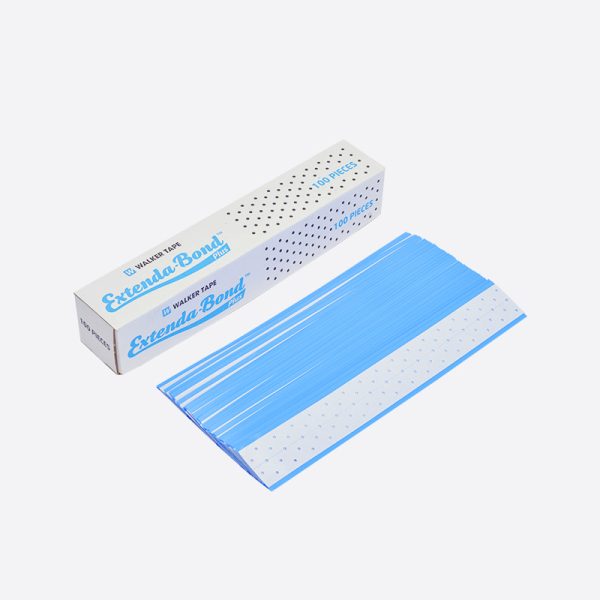
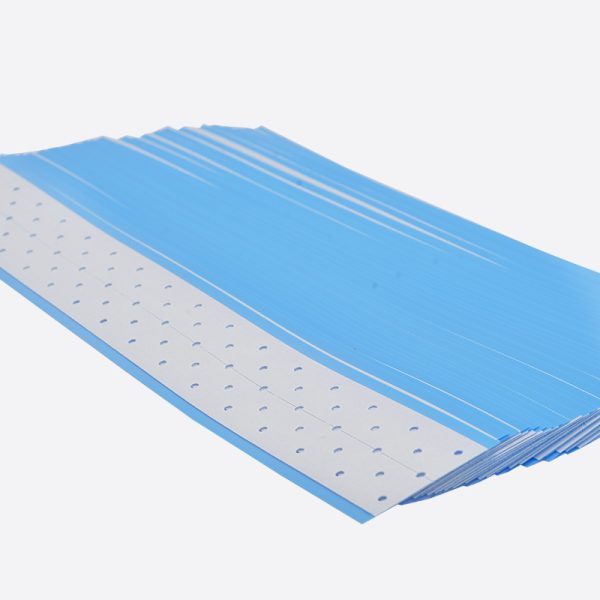
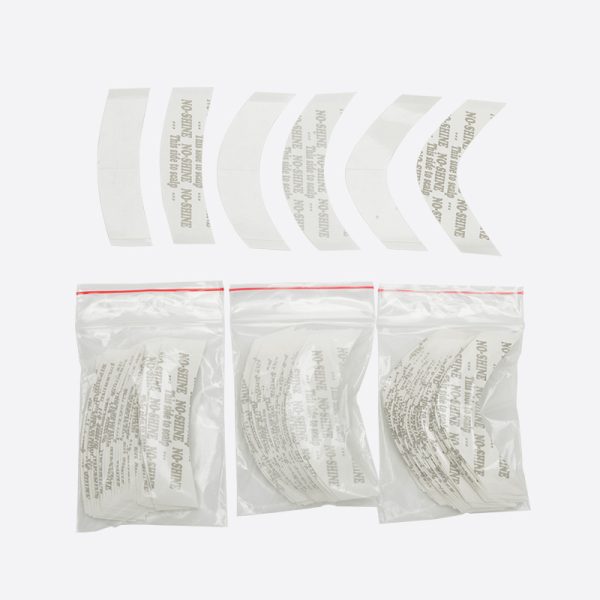
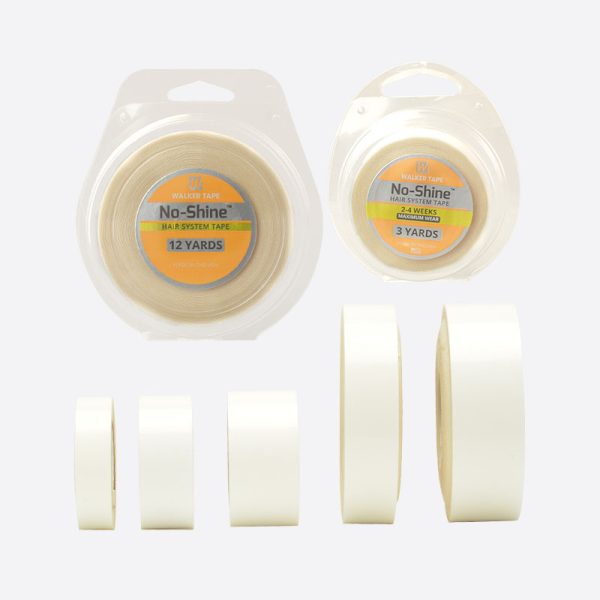
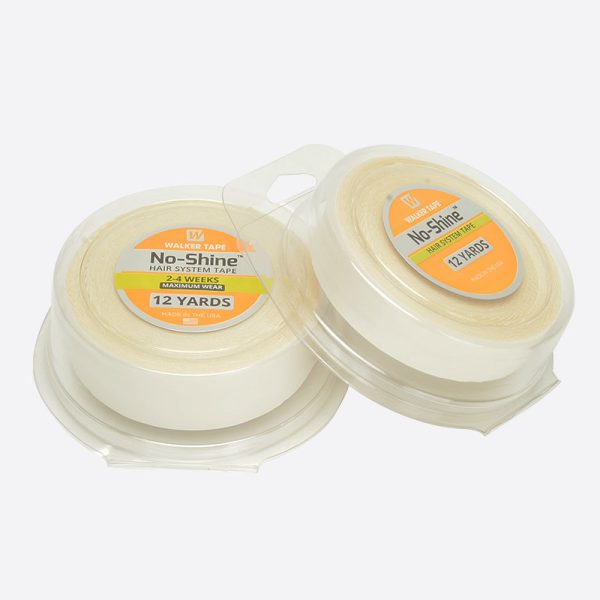
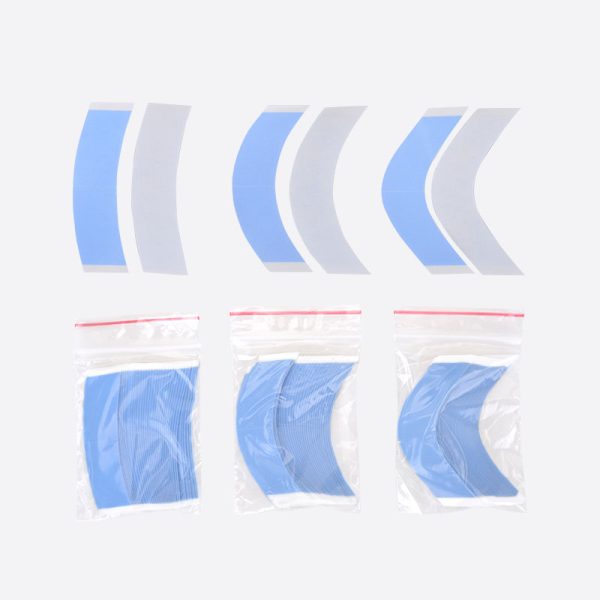
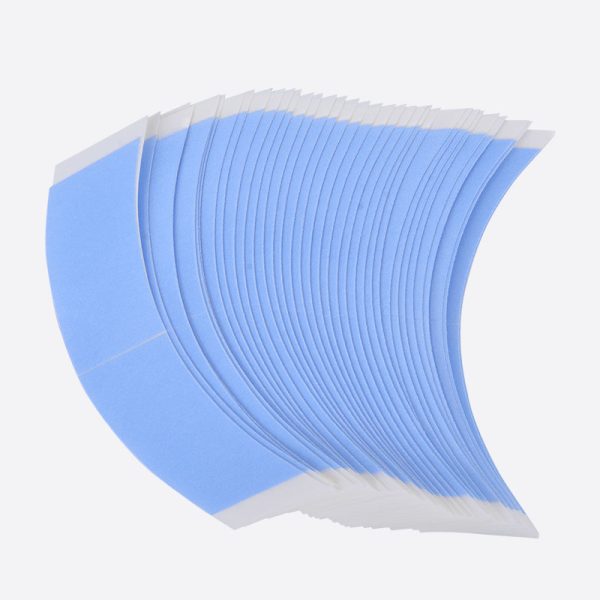
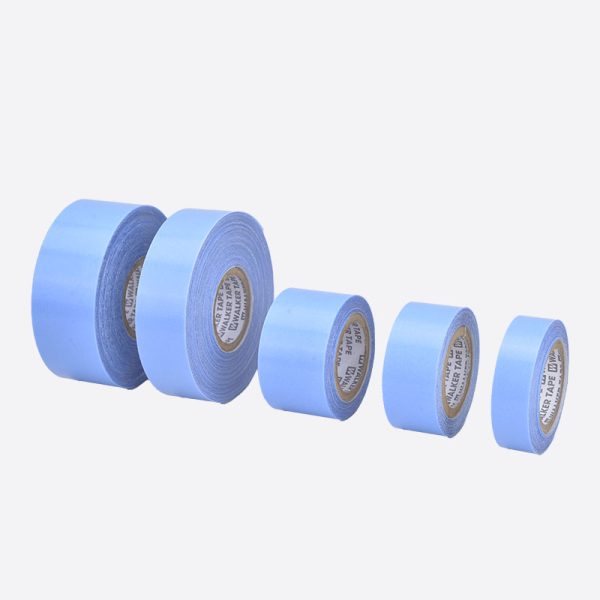
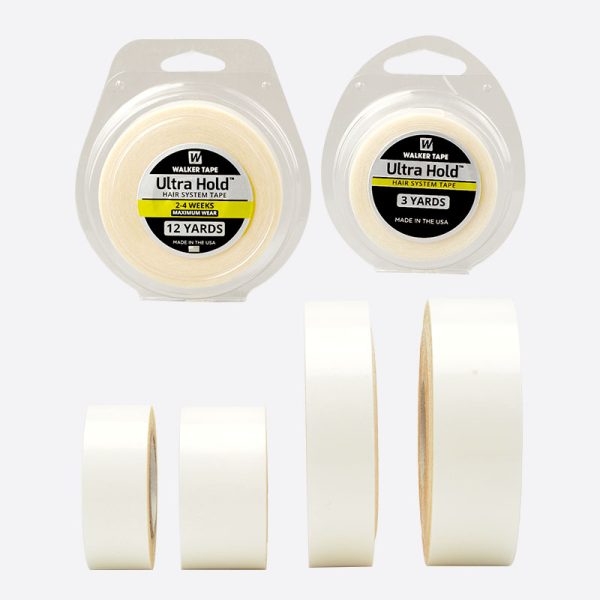
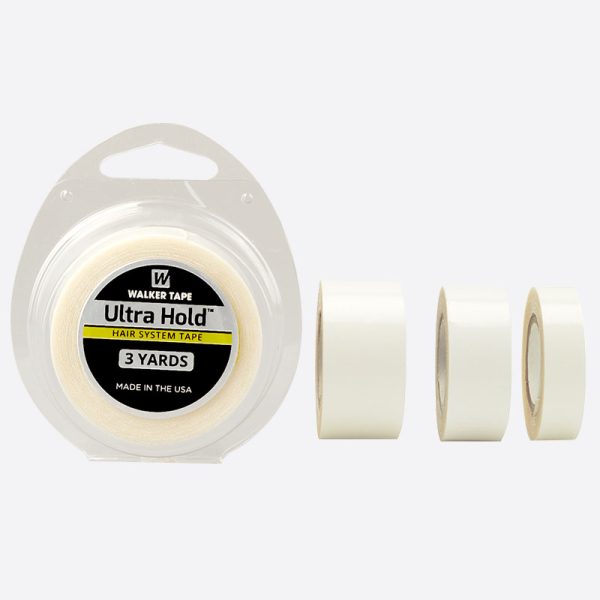
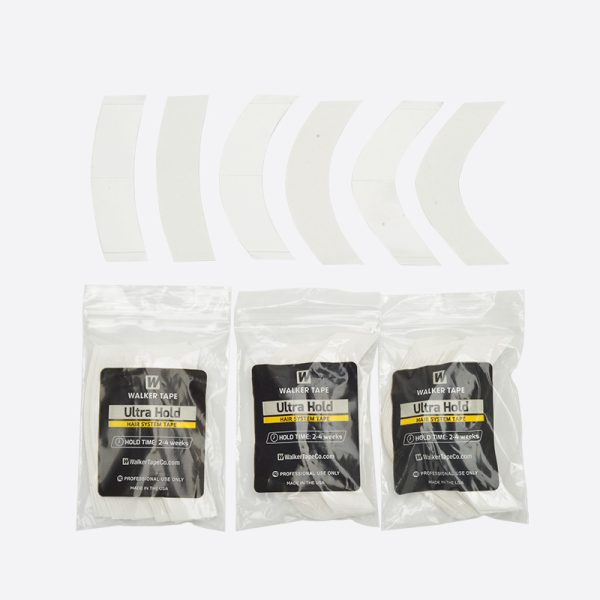
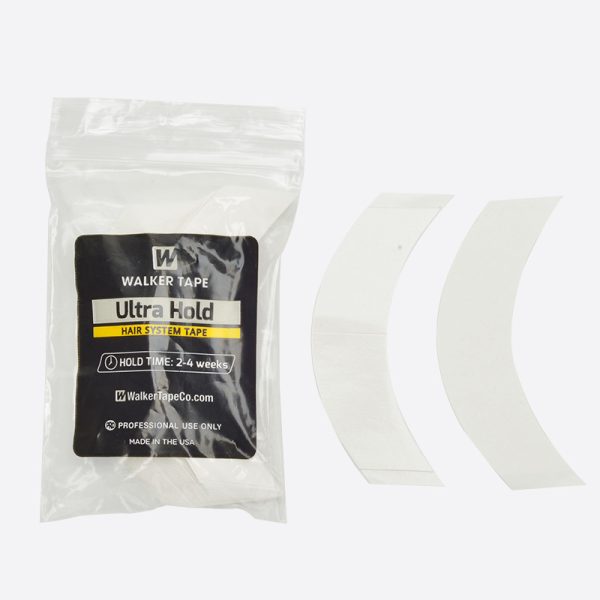
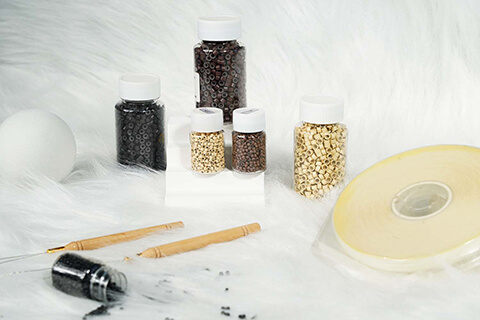
Types of Hair System Tapes: Mini Taps, Strips, Lace Front Tape, Rolls, and lastly, Contour tapes – On Average, tapes last between one – to – three weeks, depending on which one, so double-check the packaging or reach out to our customer service team for any questions.
Types of Hair Replacement Glue (Liquid Adhesive): Commonly, they are water-based and are both latex and formaldehyde-free, which is perfect making it non-irritable to the scalp, easily applied and strong enough to last up to two – to – four weeks.
Why use a combination of both glue & tape?
As we stated before, the main benefit of using Tape (even though it is not as strong) is due to the simplicity of putting it on and cleaning it up. Less mess, fewer problems! Also, using male glue on hair pieces can be a bit risky, especially if it gets onto the hair, this can cause permanent damage and must be adequately removed, left to dry and then a second attempt to attach can take place. However! Glue is far stronger, will last longer, and the best part of it is transparent and thus making it the ideal choice for ensuring a natural look and invisible toupee.
The area of the toupee for men, which is the most obvious and noticeable, is the front Hair Line (section one), so using glue on the front Hair-Line section is a better alternative than using Tape /Contour Tape. The other seven parts are less noticeable, and therefore hair system Tape is a suitable option for these seven different sections.
Note: We do not recommend using glue for Monofilament bases as it can become too messy and easily cause damage to the base material.
Applying liquid adhesive to skin/scalp
First, cleaning the scalp thoroughly is essential, removing all hair or dust and dirt that may mix into the glue when applying it. Once the area is clean, use a marker pen to outline the hairline.
To get a rough idea of what this means, the area you are marking is as if the client’s hairline was still there, and you’re drawing a line correctly along the edge. This will be a guide for the positioning of the toupee when attaching it. Don’t worry too much, it may seem tricky at first, but after a few successful attachments, you will get the knack for it.
Keep something nearby to wash out any glues from your fingers or the hair, allowing you to reposition the hair system before the glue sets and hardens.
First, apply the first coat of glue to the chosen area, leave to dry then repeat once or two more times.
When using both Tape & Glue, applying the glue is always the last part. Let’s look at how to use both together.
How to Put Tape and Glue on Hair System?
Okay, let’s break it up into two easy–to–manage steps: Preparation and Attachment. Great!
Preparation
Have all the equipment you are going to use ready and keep a towel in case the client begins sweating, what’s even better is lowering the room temperature. The scalp must be dry and clear from moisture and or impurities, so keep an eye during the attachment process and do not rush, take your time, and nothing will go wrong.
Mark the front hairline of the client to ensure that he is happy with the space between his forehead. Usually, people have the width of three to four of their fingers as the space between the hairline and their eyebrows.
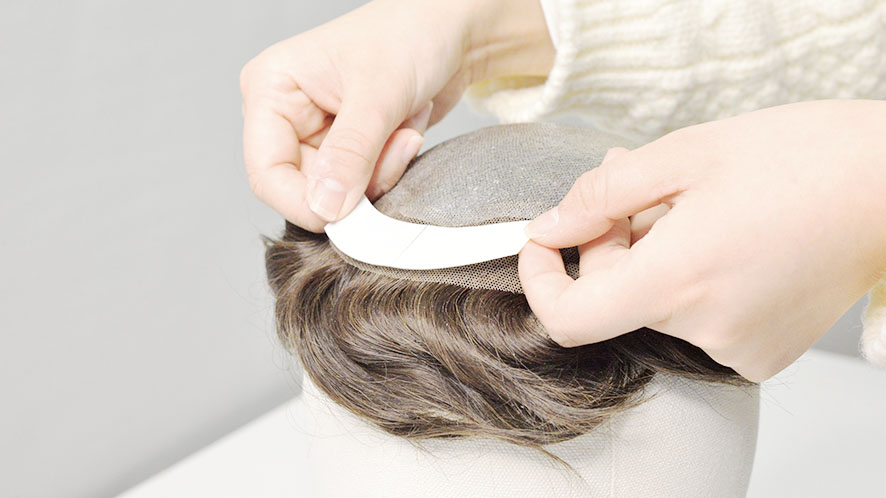
Next, begin by attaching the Tape to the toupee, around the perimeter, avoiding the front hairline area. This area is the part at the front of the toupee between both temples. Keep the outer backing on the Tape.
If the hair on the toupee is longer than 6 inches or slightly obstructs the around edges of the toupee, you should clip the hair back. This will also help avoid any glue attaching itself to the hair later in the process. Never apply any glue / liquid adhesive directly to the base, still can lead to a very sticky situation, unless it is a full skin/poly toupee.
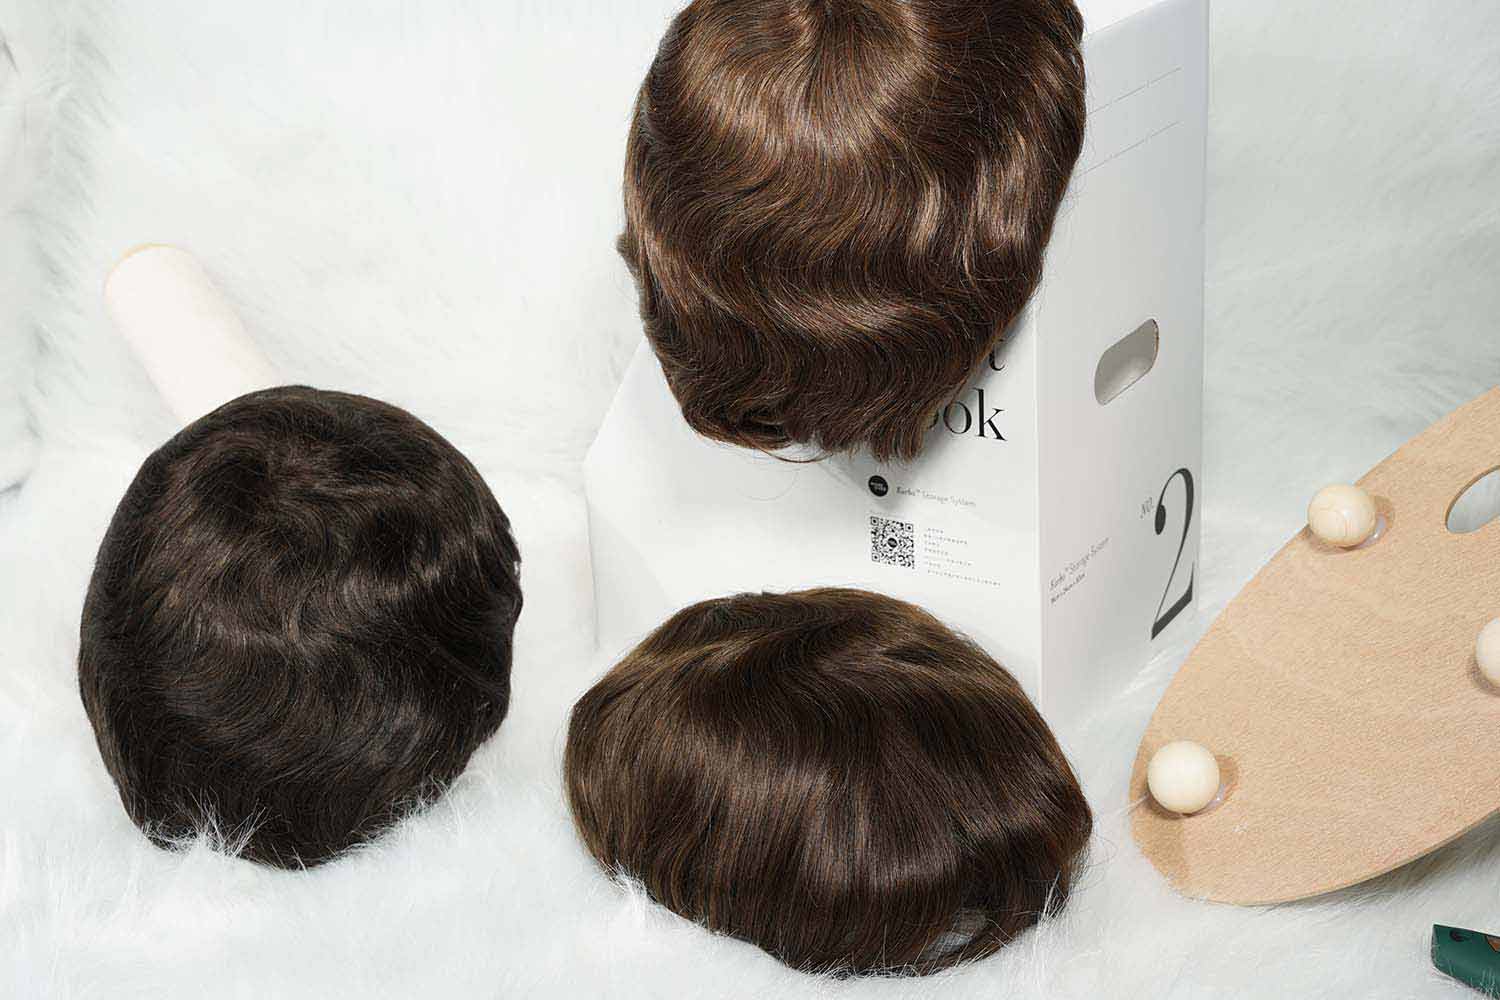
Men’s toupee install
The best method of attaching a toupee for men with both Tape and Glue are by first securing the toupee in place with the Tape on the wearer’s scalp. Afterward, gently pin the front toupee backward away from the bonding area, and then apply the glue to the scalp following the instructions in part four of this blog titled Applying Liquid Adhesive to Skin/Scalp.
Step by step
First, use an A-bond spray of your choice on the scalp to avoid the Hair System Tape sticking immediately, this will allow you to adjust the toupee on the client’s head to get the right placement.
- Remove the backing of the Tape, carefully pick the toupee up, and attach the temples to the clients’ scalp, then focus on the back and sides. Ensure it is in its proper position.
- Press down and secure the hair replacement into position, it may take a few minutes for the bond between the Tape and skin to occur, so be patient.
- Gently and carefully pin backward the front of the hair system with a hair clip, ensuring that no hair or base is near the area of the scalp where you are applying the glue — using a brush or applicator of choice, carefully spread a thin layer of glue on the scalp roughly 1 inch away from the edge of the toupee. It would help if you repeated these two or three times.
- Leave the adhesive to dry, which can take 10-15 minutes. Once the glue looks less wet and thicker, carefully let the front down, and press with your fingertips on the top part of the front hairline, ensuring it bonds strong and holds it for a short period.
- A while, and you can begin styling your client’s new head of hair!
Conclusion
The main benefit of using hair system tape and glue for men’s toupee is utilizing both attachment methods! Glue provides high levels of invisibility and longer fix. In comparison, tape is used in the more inconspicuous areas and is easier to clean and remove! Remember, keep something nearby to clean your fingers of any glue to avoid any mess caused by glue sticking to the hair. We hope this blog was helpful! Stay tuned for more.